 FinishedBaement.jpg
Posted on Monday, January 21, 2019
Categories:
Soundproofing
|
Remodeling
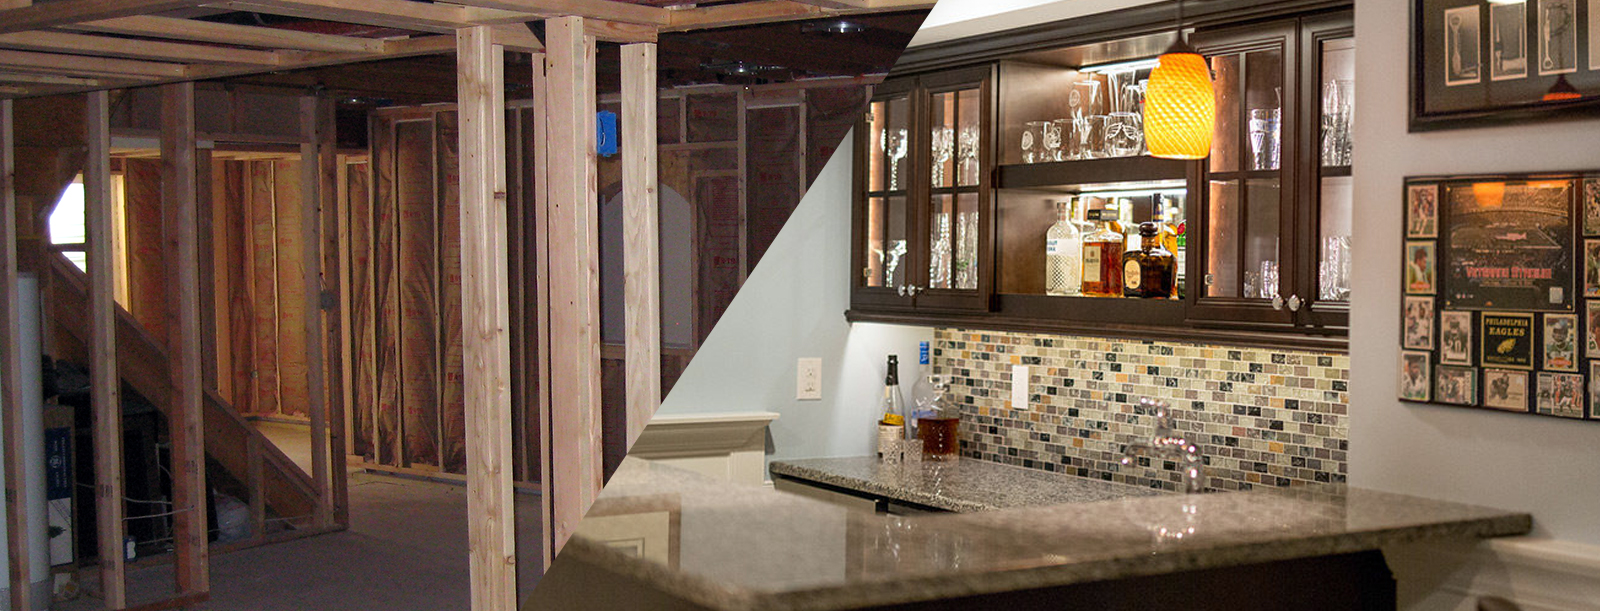
Adding livable square footage to your home adds value to
both the home and your quality of living. One of the most popular and least
expensive methods of increasing your home’s livable square footage is finishing
the basement. It costs much less than building a new addition and can be
completed by DIY-savvy homeowners in most cases.
But don’t order your pool table and start slapping studs up
just yet! Basements are vulnerable to structural stresses and moisture issues. Failing
to plan ahead now, will cost you dearly later. There are plenty of technologically-advanced
building materials today that can add value over the life of the home and
ensure you don’t get soaked later.
Here are seven important steps to repair, include, and plan
for before finishing your basement.
Seal Cracks
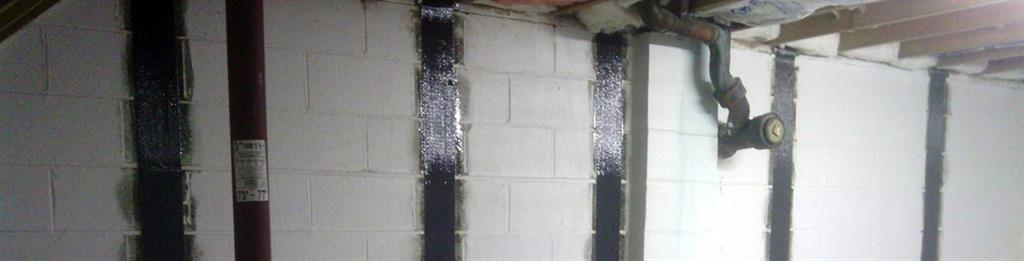
Closely inspect the foundation walls and floor for any
cracks. If cracks are evident, make sure to tackle those first with a quality
carbon fiber crack repair solution. Carbon fiber is stronger than
traditional steel methods, and is fairly easy to install. It provides a lasting
solution to the problem and can be used in a variety of applications, including
repairing cracks in the floors and walls to reinforcing bowed walls. Ensuring
structural integrity is essential before tackling other elements. If you are
not comfortable doing this yourself, hire a professional foundation repair
company.
Plan Your Escape
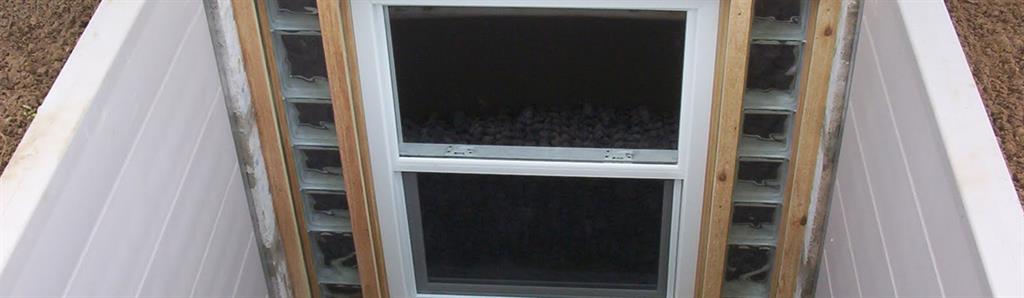
Make sure that people in the basement have adequate means of
escape in case of emergency. If bedrooms are to be included in your basement
plans, they must be located on the perimeter and must include a code-approved egress
window and window well, or an exterior doorway. If you don’t already have this
in place, it’s not a DIY project. Hire a professional egress contractor.
Insulate Pipes Before Covering Them

While your water pipes are still exposed and easily accessible,
slip foam insulation sleeves over hot-water pipes to prevent heat loss and over
cold-water ones to prevent condensation from dripping on the inside of the
drywall or ceiling.
Properly Ventilate to Prevent Mold and Mildew
A key step to moisture prevention is adequate air
circulation, which reduces unhealthy moisture and mildew. Ventilation methods
to consider include natural ones (such as opening windows on a regular basis)
and mechanical methods using ducts, fans, and vents. Breathable building
materials should also be used, including a good subflooring product that
promotes positive airflow and keeps the finished floor raised off the concrete.
Backup and Double-up Your Sump Pump
Double up on your sump pump backup! The most common cause of
devastating damage to finished basements is flooding. A battery backup for your
main pump – in the event of a power outage – is critical. If your house is
hooked up to a municipal water supply, invest in a water-powered backup pump
that's juiced by pressure in the supply line. Also, keep a second pump available
in case the first one fails. An ounce of prevention is never more critical.
Seal and Insulate Foundation Walls
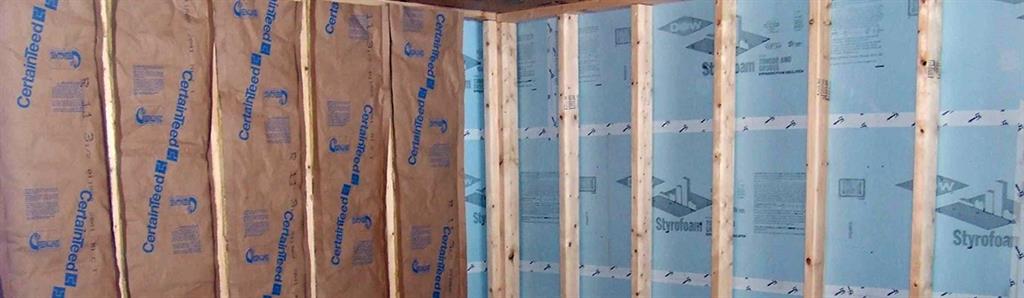
After you have repaired and sealed your foundation, install an
approved poly vapor to the foundation walls. Notched foam panels can be fitted
together and glued, clipped, or screwed to the foundation wall as one method of
insulating. Another common method is to install a standard 2x4 stud wall next
to the foundation wall. This method allows for easier, conventional
installation of wiring and insulation.
Always use pressure treated lumber any time the wood is in
direct contact with concrete. Use of moisture-resistant drywall is recommended
to prevent mold growth on the paper coating.
Install Sound Barrier Insulation in Ceiling
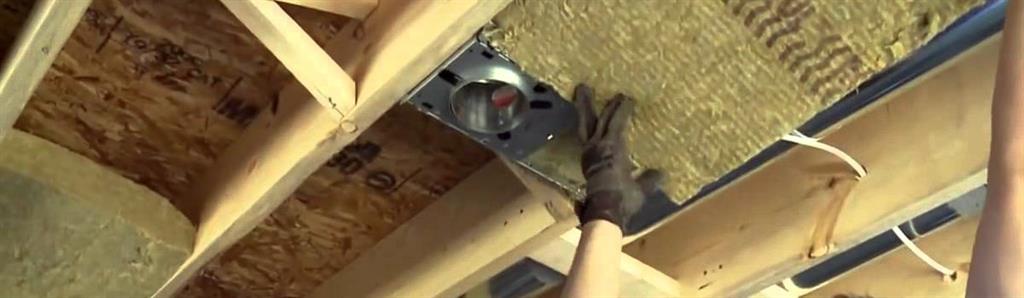
To soundproof your basement ceiling, add sound-deadening
insulation batts without a vapor barrier, like Rockwool’s ‘SAFE‘n’SOUND’ fireproof insulation, between
the joists. Then fasten one or two layers of drywall to the joist, using
resilient clips and metal furring channels (called hat channels, for their
shape). This isolates the drywall from the joists, eliminating vibration and
thus minimizing sound travel.
[Sources: ProRemodeler, This Old House]
Tagged:home improvement, soundproofing, remodel, finished basement